How to Connect Teamscale's Issue Tracker to GitHub via Access Token
Teamscale integrates with GitHub via the classic access token. This is used to connect Github for issue tracking purposes. The guide for connecting the code on GitHub via an App can be found here.
General Option Reference
This guide only covers the options specific to the GitHub issue tracker via Access Token. A general overview of connector options is available here.
Setup of the Github Connector
In GitHub, navigate to the settings page of your Github account. Open Developer Settings > Personal access tokens and choose Tokens (classic). Click the button Generate new token and choose Generate new token (classic). Here you can provide a name and details of your access token.
Select the scopes.
Choose the repo scope.
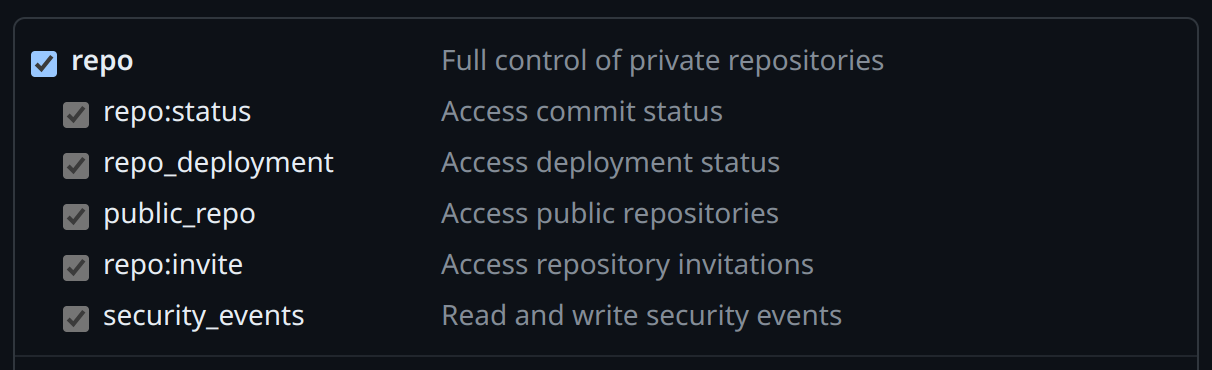
Click Generate token.
Store the Token immediately
Store the newly generated token in a safe place, because it will not be accessible anymore once the page is closed.
Back in Teamscale, go Project Configuration > Projects and edit or create a project. Click on the Issue Tracker button and choose Github as your Issue Tracker.

Add a new account by clicking on the blue icon.

The following fields are relevant:
URI: URL to the Github repository with the desired issues.Password: Your access token that was created in step 1.

- Click Save.
Click Save Project and wait for the finished reanalysis.
The issues can be found under Activity > Issues.