How to Perform a Baseline-based Delta Analysis
With Teamscale, it is easy to compare two snapshots of the system against each other and inspect everything that happened in between. For this, Teamscale provides the Delta Perspective. This perspective allows you to choose an arbitrary start date (the baseline) and an end date and performs the delta analysis in between. To perform a delta analysis, click on Delta Parameters in the sidebar and select your start and end date:
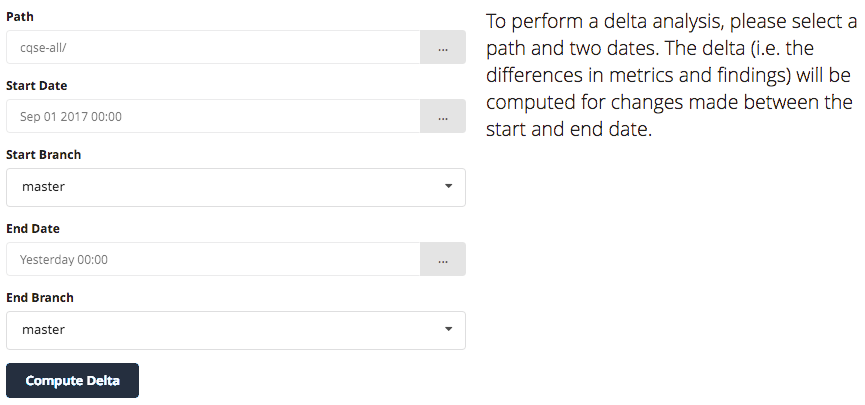
You can choose both dates in form of a calendar date, a repository revision or a previously defined baseline of your system. In our example, we chose the beginning of September until "today" as underlying time interval for the delta. If branch support is enabled, you can also pick the branch of the underlying version control system. Then, hit the button Compute Delta.
After the delta analysis finished, Teamscale will redirect you to the Affected Files page within the Delta Perspective:
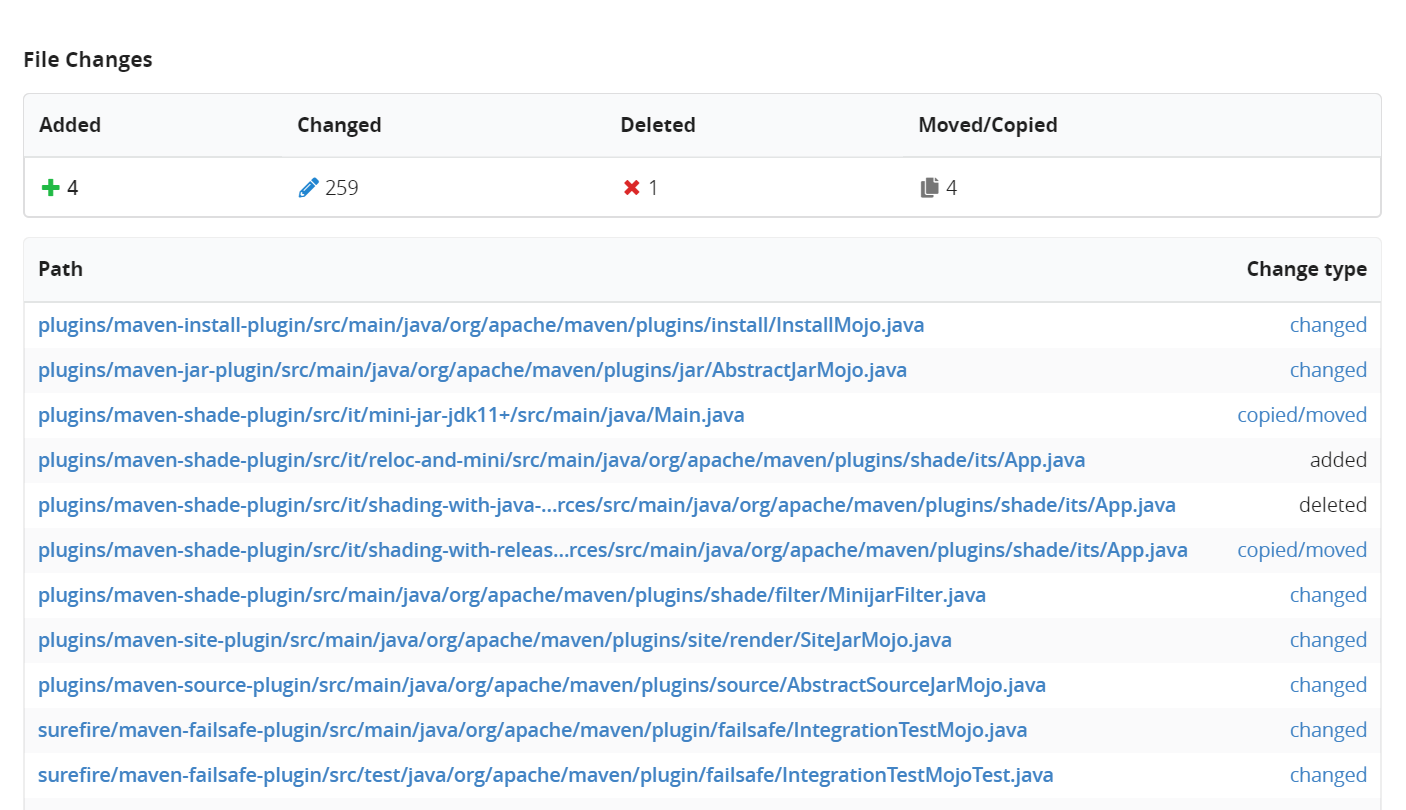
This shows you how many and also which files were added, deleted or moved within your project during, in our example, starting from the 1st of September until today.
When you click on Findings Churn in the left sidebar, you can inspect findings that were either added or removed within the given time interval. Additionally, this page also shows you findings in code that was modified in this period.
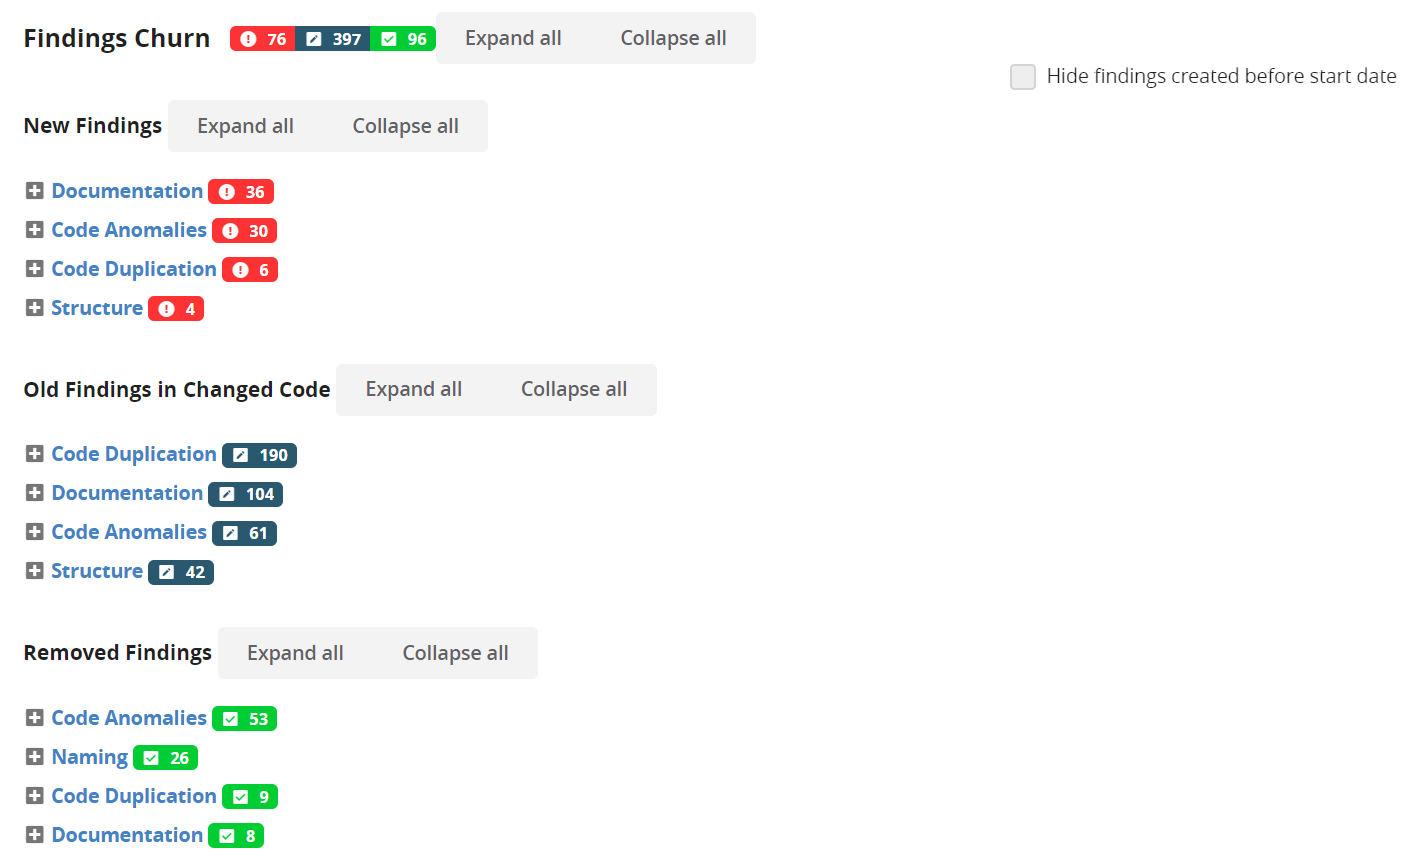
Similar as in the Findings Perspective , you can navigate and filter these findings.