How to Connect Teamscale to Azure DevOps Work Items
General Option Reference
This guide only covers the options specific to the Azure DevOps work items. A general overview of connector options is available here.
Setup of the Azure DevOps Connector
Visit the Azure Marketplace and go to the Teamscale plugin page.
Choose your organization and click Install.
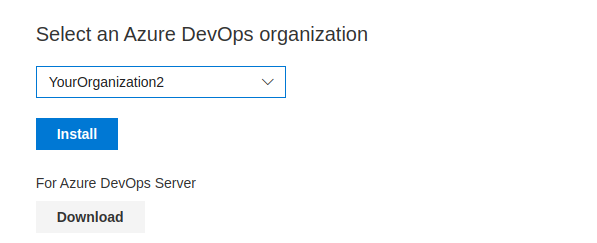
- Click Proceed to Organization and select your project.
After successful installation, the Teamscale plugin will show up in the project settings under Extensions.
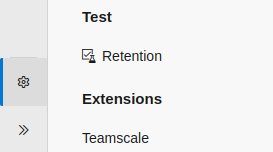
- Click on the Teamscale extension and fill out the form according to this guide for the plugin and save.
Create a Personal Access Token for the project, if you don't already have one.
- Go to User Settings and select Personal Access Token.
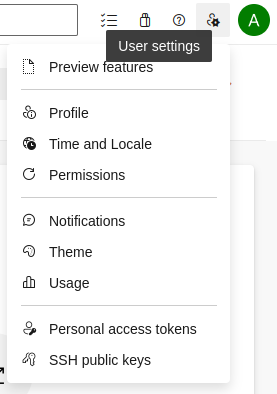
- Set the scopes for this token:
Work Items: Read, write, & manageCode: Read
- Click Create.
- Go to User Settings and select Personal Access Token.
Store the Token immediately
Store the newly generated token in a safe place, because it will not be accessible anymore once the page is closed.
In Teamscale, go to Project Configuration > Projects. Edit or create a project. Click on the Issue Tracker button and choose Azure DevOps Boards as your Issue Tracker.
- Add a new account by clicking on the blue icon.

- Fill out the following fields:
URI: URL of the projects' serverPassword: The Access Token that was created in the previous section.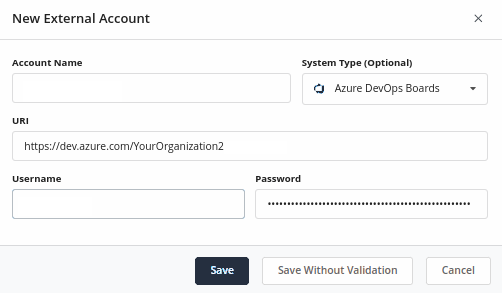
- Click Save.
- Add a new account by clicking on the blue icon.
Fill out the following required fields in the connector settings:
Projects: Target project from the previous section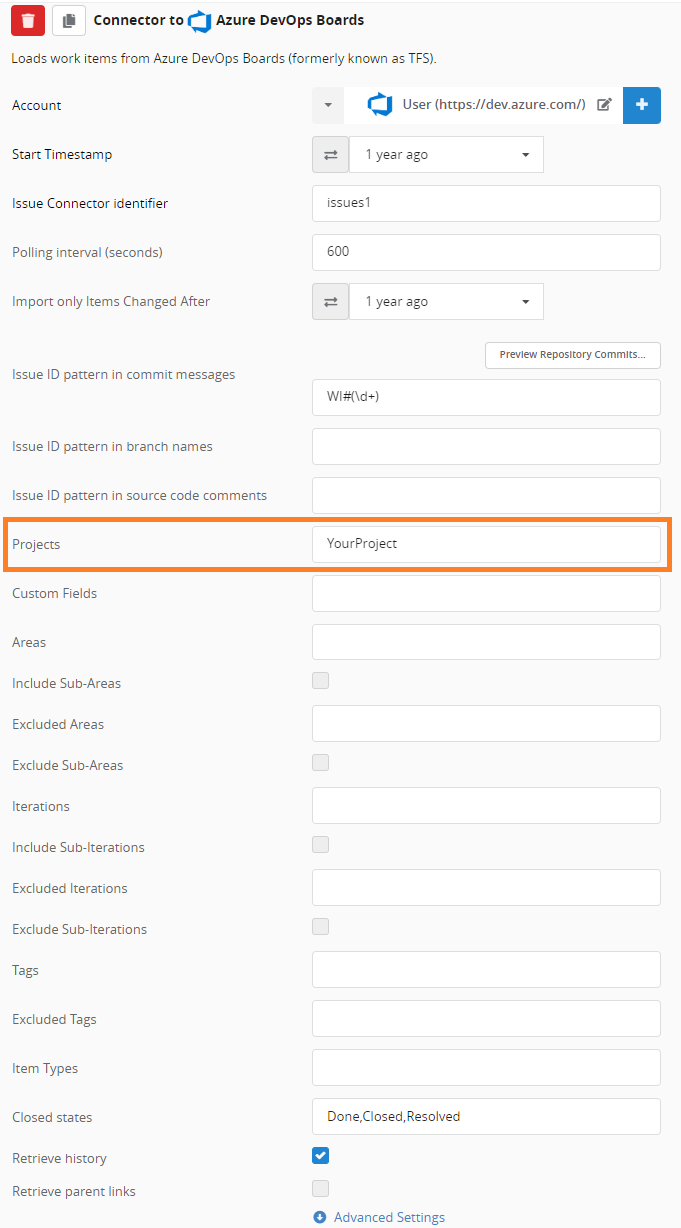
Fill out any additional filtering fields you want to use. For a work item to be imported, it must match all the provided filters.
Areas: The areas to extract work items from (full area paths).Include Sub-Areas: If checked, work items from sub-areas are retrieved as well. Otherwise, just work items exactly matching one of the area paths are retrieved.Excluded Areas: The areas to exclude from extracting work items (full area paths).Exclude Sub-Areas: If checked, work items from sub-areas declared inExcluded Areasare excluded as well. Otherwise, just work items exactly matching one of the area paths are excluded.Iterations: The iterations to extract work items from (full iteration paths).Include Sub-Iterations: If checked, work items from sub-iterations are retrieved as well. Otherwise, just work items exactly matching one of the iteration paths are retrieved.Excluded Iterations: The iterations to exclude from extracting work items (full iteration paths).Exclude Sub-Iterations: If checked, work items from sub-iterations declared inExcluded Iterationsare excluded as well. Otherwise, just work items exactly matching one of the iteration paths are excluded.Tags: Import work items with containing any of these tags.Excluded Tags: Do not import work items containing any of these tags.Item Types: Only import work items of these types. Leave empty for all item types.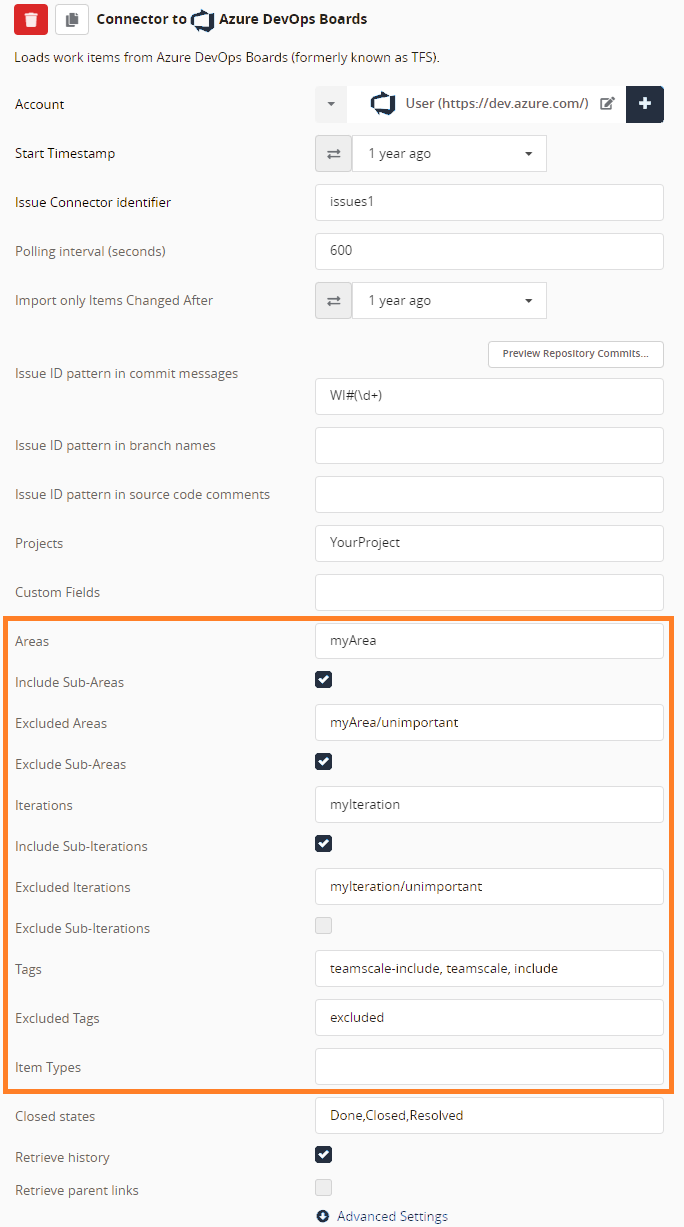
Click Save Project and wait for the finished reanalysis.
The work items can be found under Activity > Issues.