The profiler's configuration can be stored within Teamscale. This makes it easy to change and audit. To configure the profiler for your application, go to the Project Configuration > Coverage Profilers view. Open the dropdown of the New profiler configuration button and click on Create for a JVM (Java, Kotlin, ...) project.

You will be presented with a dialog that lets you generate a profiler configuration for a Teamscale project.
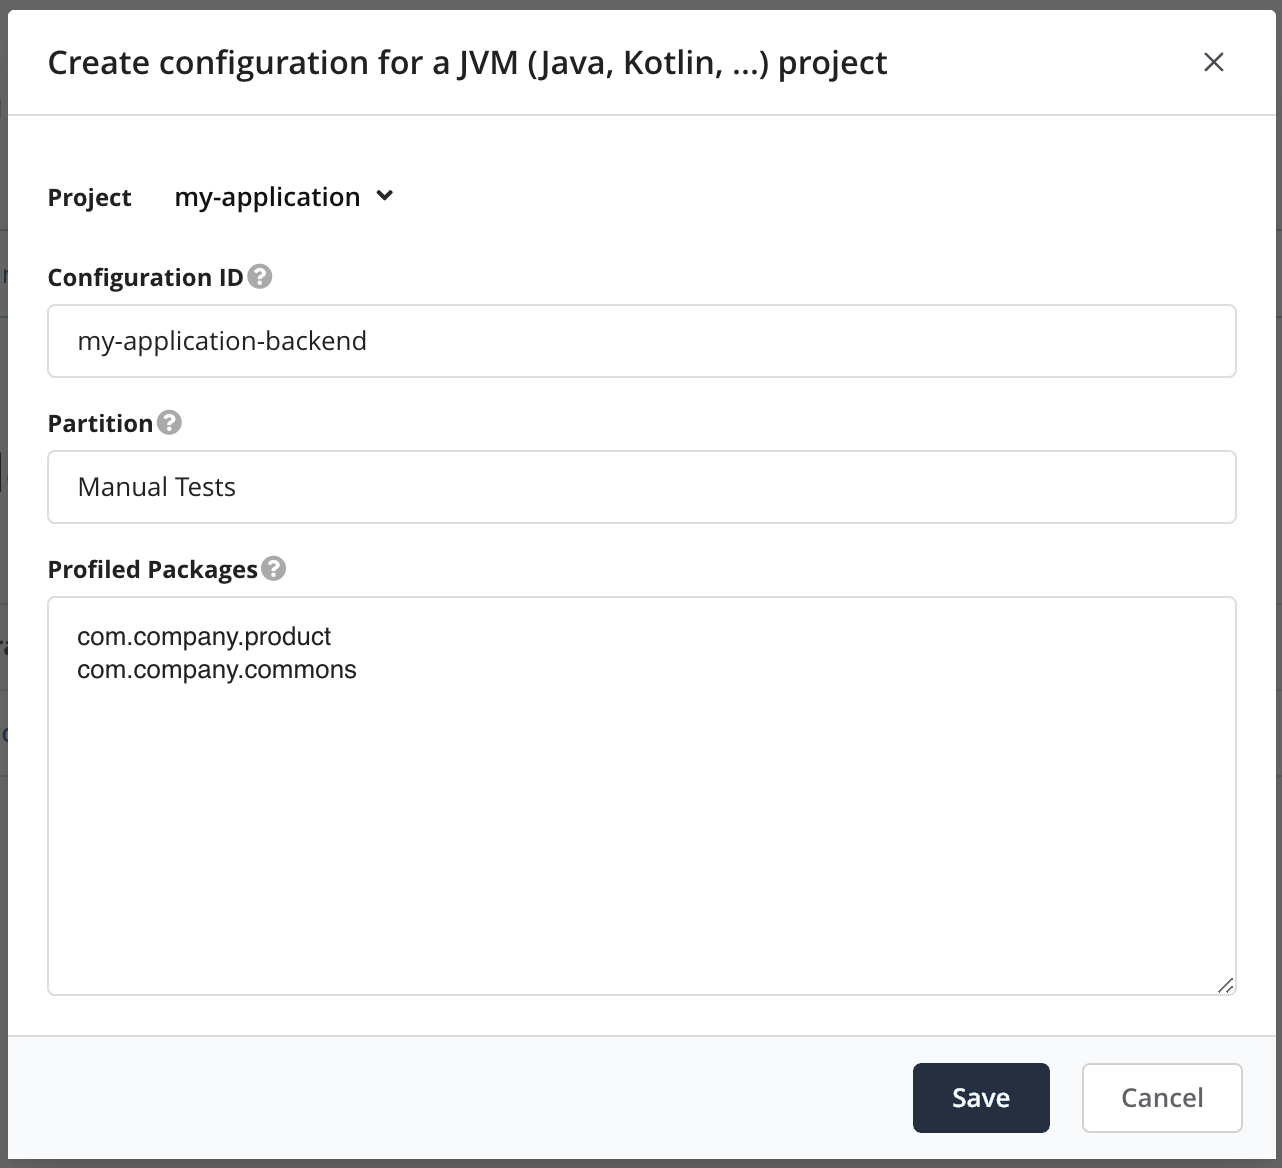
- Select the project that you want to collect coverage for.
- Choose a configuration ID. This ID will be used when starting the profiler so that it knows which configuration to use.
- Select a partition, which is a logical name that groups related coverage, e.g., the type of test that will be profiled (e.g., Manual Test, Unit Test, Regression Test).
- Select all packages that should be profiled. Subpackages are included as well.
Selecting Appropriate Packages
Teamscale automatically suggests packages to profile. Please review them carefully.
Please ensure the packages you select are "future-proof", i.e., they also match packages you might add in the future. This saves you time later, because you won't have to adjust the profiler configuration whenever you add new packages.
Make sure not to profile widespread packages that are also used by third-party software, e.g. net.java or com.
Finally, click Save.
The generated profiler configuration looks similar to the following:
includes=*com.company.product.*;*com.example.commons.*
teamscale-project=my-application
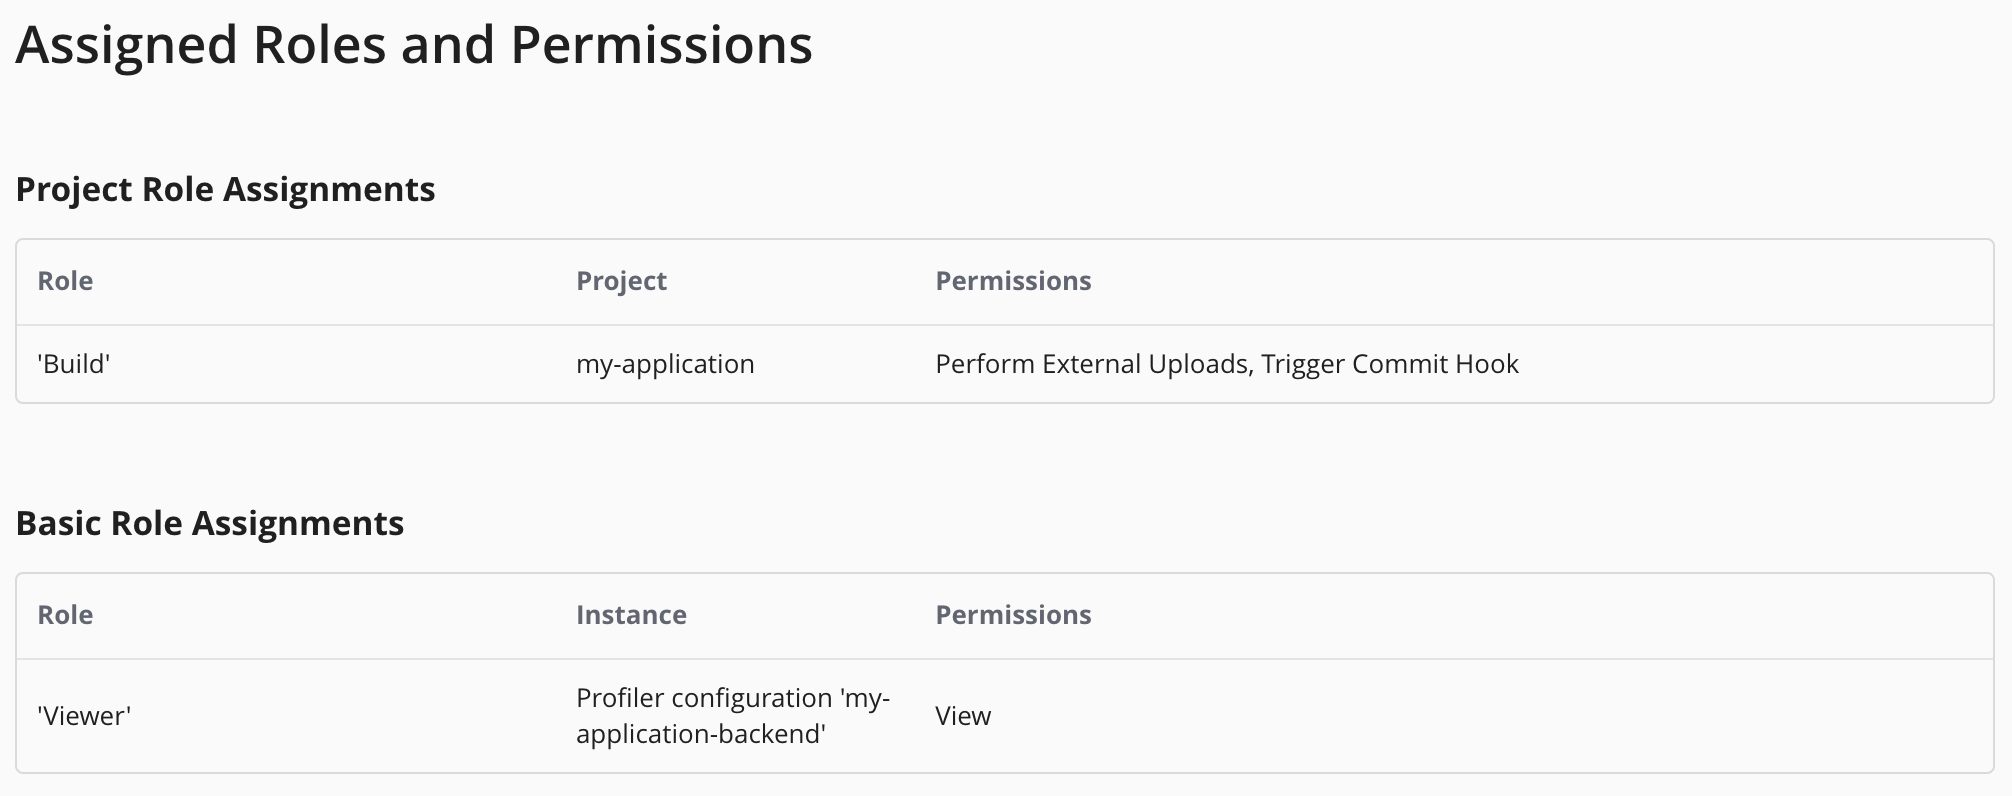
teamscale-partition=Manual TestsNext, please go back to the Project Configuration > Coverage Profilers overview. Click on the button next to the profiler configuration that you just created and assign Viewer permissions to the technical user that the profiler uses to connect to Teamscale.
Next, please go to Admin > Users and select the technical user whose credentials should be used for the coverage upload. Ensure that the user has the Perform External Uploads permission for the project. You can achieve this by assigning the pre-defined Build project role to the user.
Then generate an access key by clicking on Generate New Access Key and save it. We will need it in the next step.