How to Connect to GitLab Issues
Teamscale imports issues from the GitLab Issue Tracker via the GitLab REST API. The guide for importing code from GitLab can be found here.
General Option Reference
This guide only covers the options specific to the GitLab issue tracker. A general overview of connector options is available here.
Prerequisites for the GitLab integration
Prerequisites for the configuration are:
- A Teamscale installation that can reach the GitLab instance you want to connect to.
- A GitLab Access Token with the
read_apiscope that can access the GitLab project.
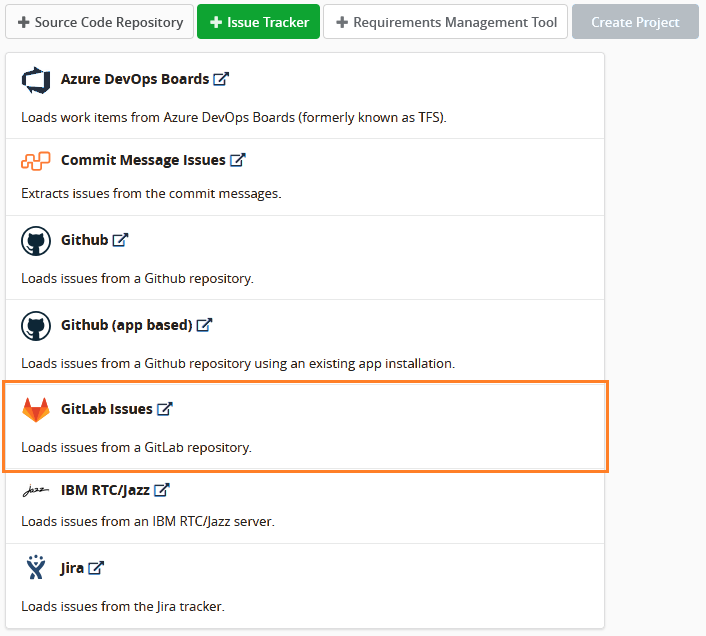
Setup of the GitLab Connector
In Teamscale, go Project Configuration > Projects and edit or create a project. Click on the Issue Tracker button and choose GitLab Issues as your Issue Tracker.
Fill out the following fields in the connector settings:
Account: Choose an existing account, or create one using the GitLab root URL (e.g.https://gitlab.com) and the previously created access token.Project: The global (numeric) project ID, or the complete path (<namespace>/<projectPath>) of the GitLab project.Labels: Comma-separated list of labels. Only issues with any of these labels are imported. Leave empty to import all issues.
Click Save Project and wait for the finished reanalysis.
The issues can be found under Activity > Issues.